
Guest reading progress stays in this browser and is not synchronized to your account automatically. Use the learning panel to include browser marks and save them explicitly. Clearing site data removes browser marks.
Your learning notebook
Save courses and review situations deliberately. Load your account records on another device when you want to continue.
Bookmarks and review choices stay in this browser until you load and save an account. Answers and time spent reading are not recorded.
Saved courses
Saved situations to revisit
Find your marked situations by title or topic, then open the original question and explanation.
Your review choices will appear here when this learning view is ready. Use the account controls above to load account choices.
No situations are marked for review in this learning view.
No saved situation matches these filters. Clear the search or choose all topics.
Identification practice
Land access practice
Field decisions practice
Harvest care practice
Build a first-visit timetable you can explain ↓
From a first question to a complete first outing
Follow six connected stages. At each one, prepare something you can explain to a companion; reading an article alone does not finish the task.
A suggested learning route. Every guide stays open, and a completed reading or checklist does not establish legal eligibility, land access or safe conditions.
Open the six stages and field branches
1 · Match documents to the person
Separate hunter education, firearms requirements and hunting licences. Check your own residency and licence category before planning around an animal.
Bring to the next stage: A dated document list, the official source for each requirement and any unanswered personal eligibility questions.
2 · Match species, zone and date
Find the exact WMZ and read the relevant species row, licence category and attached notes together. A sale date or reminder is not an open season.
Bring to the next stage: The intended species, WMZ, outing date, applicable official table and unresolved conditions.
3 · Confirm the land and the approach
Identify who can authorize this specific visit. Agree on people, dates, parking, gates and the route across neighbouring land.
Bring to the next stage: The exact parcel, permission conditions, an agreed entrance and a lawful return route.
4 · Rehearse the kit and the return
Pack for weather, communication, handling and a complete return. Test the kit at home, then assign shared items to named companions.
Bring to the next stage: A usable kit, a return-time contact, a turnaround decision and a plan if the destination is unusable.
5 · Practise one field situation
Choose a branch below. Learn its identification checks, setup or walking plan, observation limits and recovery needs before adding more complexity.
Bring to the next stage: One simple plan everyone can describe, including where to stop and when to change or abandon it.
Stage 5 · Choose the kind of outing
Start with one branch. Review identification and recovery before choosing a place; an observation-only visit can be your first rehearsal.
Waterfowl · field or wetland edge
First review shared permit and identification checks; then choose one Goose or Ducks setting. Add equipment and field-care plans to the same outing.
Upland Birds · a manageable walking route
Choose terrain you can describe and return through. Practise identifying the bird group and agreeing on stop points, group spacing and recovery boundaries.
Big game · observation and the full return
Start with species identification and a verified observation point. Plan the people, route, handling and receiving arrangements needed for a complete lawful recovery.
6 · Plan aftercare before leaving home
Prepare handling, cooling, transport and any reporting or sample tasks in advance. After the visit, close the check-in and record what needs to change.
Bring to the next stage: A receiving/transport plan, the applicable reporting checks and one specific improvement for the next outing.
Beginner workshop · turn reading into a plan
Build a first-visit timetable you can explain
Start with a short observation-only rehearsal before building a more demanding hunt. Work backwards from the time you promised to return, including both journeys, checks at the vehicle and time to walk back. A departure time alone is not a complete plan.
Fictional teaching example: these clock times are for an observation-only visit. They are not legal hunting hours, a route recommendation or a forecast. Check access and the actual conditions for your own outing.
This table scrolls horizontally. Focus it and use the arrow keys to reach every column.
| Checkpoint | Example time | What the time must include |
|---|---|---|
| Leave home | 09:00 | The outward drive has a full hour; confirm the route before leaving. |
| Reach the agreed parking place | 10:00 | Keep 15 minutes for confirming the place, approach and arrangements with companions. |
| Start the outward walk | 10:15 | Use only the checked approach. The example allows 45 minutes out and 45 minutes back. |
| Turn around | 11:00 | This is a return checkpoint, not a promise that the destination will be reached. |
| Back at the vehicle | 11:45 | Allow 15 minutes for checking people and equipment and loading the vehicle. |
| Begin the drive home | 12:00 | The return drive still has its own full hour. |
| Return and check in | 13:00 | Use the arrangement you actually agreed with your trusted contact. |
Work through a change
The drive is delayed by 45 minutes. What changes?
You arrive at 10:45. Keeping the 15-minute arrival check means the walk starts at 11:00. To keep the original 11:45 return to the vehicle, there are only 45 minutes for the whole walk, not 45 minutes each way.
Do not hurry through the original route. Shorten the objective, keep an appropriate margin for the actual ground and conditions, or cancel the walk. If an agreed check-in must change, use the communication arrangement before relying on a new plan.
What should a beginner budget for before buying more equipment?
Make four lines: training and document requirements; travel and food; route-appropriate personal equipment; optional activity-specific equipment. Check the first two using the real participant and trip, then inventory what you already own. Use current official fees rather than copying an undated total.
Discuss suitable borrowed equipment and how to use it with a competent mentor; a loan still needs a fit and function check. Delay optional purchases until a short rehearsal shows the actual gap. Include the cost and time of the return, cleaning and replenishment.
What can you bring to a mentor instead of asking for a “good spot”?
Bring one identifiable candidate parcel, the intended parking and approach, this timetable, the activity and people involved, and three unanswered questions. Ask the mentor to explain which observation would change the plan.
After the visit, compare planned and actual times. Keep one useful observation and one concrete improvement. An observation-only outing does not establish that your later hunting documents or season conditions are satisfied.
Official requirements and maps
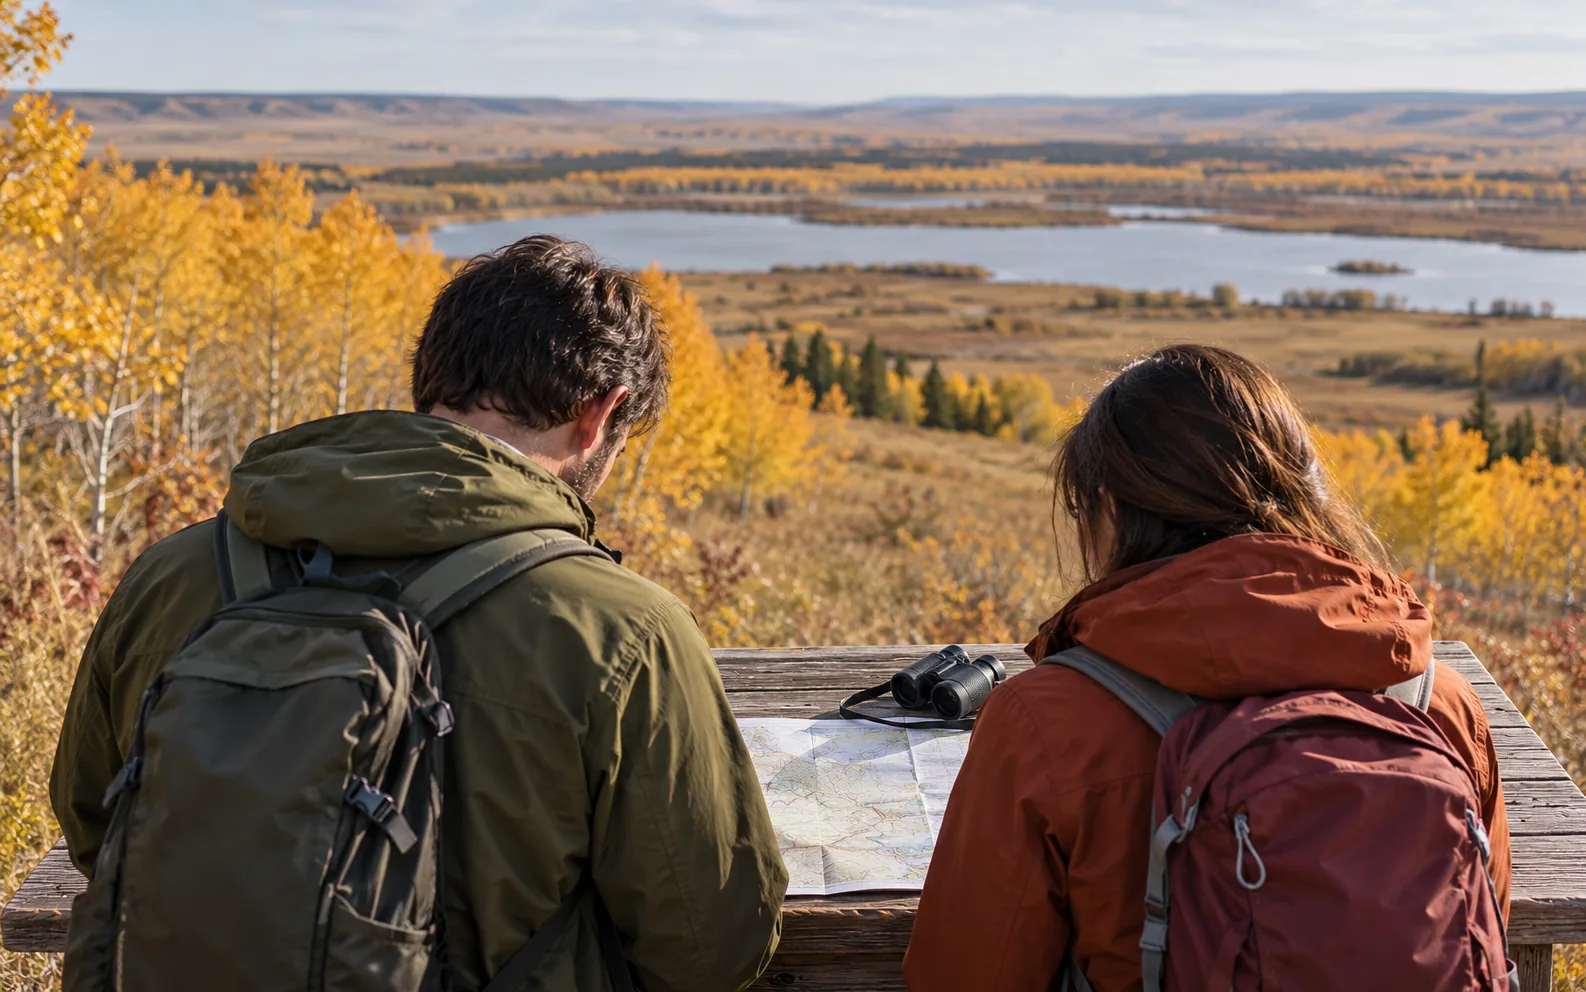
Original AI-generated photo-style teaching scene for SKHunter; depicted people, documents and maps are illustrative.
Image credit: SKHunter · original AI-generated photo-style imageWhat you will learn
- Turn a vague ambition into a small, testable outing.
- Separate things you know from questions that still block the trip.
- Use a debrief to make the next outing easier.
An original SKHunter learning guide
Give every outing a complete return path
Teaching diagram · not a map- 01Before leaving
Check the destination, conditions, documents and return-time contact.
- 02At the location
Compare the actual conditions with your plan, and change or stop when needed.
- 03After returning
Close the check-in, record what changed and follow up on your tasks.
A backup place needs its own checks. A cancelled outing can still produce a useful observation and a better next plan.
Write a one-sentence trip brief
Try: “An accompanied daylight scouting visit to a parcel I can identify, with a checked place to park and a return before my agreed check-in.” A useful brief says what success looks like without requiring an animal sighting. Keep the first destination close enough that a cancelled visit does not ruin the whole day.
Build a three-column page: known, unresolved and next action. “Map shows a track” belongs under known; “track is a usable approach” remains unresolved until checked. Give each unresolved item an owner and a way to answer it. This makes a mentor conversation much more useful than asking whether a whole area is good.
Rehearse the ordinary parts at home
Open the documents you intend to carry, find the chosen parcel again and explain the route to another person. Practise using the map without a connection. A screenshot of a small map area can lose surrounding roads, so keep enough context to recognise a wrong turn and the route back.
Lay out your day bag in groups: navigation, communication, weather protection, food and water, and personal essentials. Check each item against the outing rather than copying a long shopping list. If a skill or piece of equipment is unfamiliar, learn it through suitable training before relying on it away from help.
Finish with a ten-minute debrief
After returning, record the planned route and the route actually used. Note any sign, gate, road surface or missing information that changed the visit. Separate a direct observation from an explanation you are still guessing at; one quiet visit does not establish that a place has no wildlife.
Choose only one or two improvements for next time. For example, update an unclear parking note and arrange a mentor discussion about species identification. Mark unanswered access or eligibility questions as unresolved, even after an enjoyable scouting day. Experience improves your plan; it does not replace the separate requirements checks.
Worked example: a successful visit without a sighting
You have a free Saturday and two possible parcels. One has a clear approach; the other is larger but its entrance is uncertain. Your first objective is to learn the area rather than cover both.
Put it into practice
- Choose the parcel whose access and approach you can actually check.
- Write down who is coming, the purpose and the agreed return time.
- Use the visit to confirm your map notes and record only what you observe.
- On return, fix one navigation note and list the next question for your mentor.
Four checks before the field
A 36-second photographic motion explainer with gentle camera movement, four clear chapters and large on-screen words. Silent; optional captions and a transcript are available.
Choose a section or use the player controls. A text transcript is available below.
Read the video transcript
- 0:00
Start with the parcel — Identify the exact land and the surrounding approach.
- 0:09
Check land permission — Confirm who may enter, when, and under which conditions.
- 0:18
Read the complete season row — Match species, zone, licence and date. Read the attached notes.
- 0:27
Verify a usable route — A parcel pin is not an entrance. Keep a checked fallback.
Common mistakes to avoid
Trying to solve everything on the first day
A small objective leaves time to notice problems and return calmly.
Treating an unanswered question as probably fine
Leave it visibly unresolved and get an answer before depending on it.
Judging a day only by sightings
A checked approach and accurate notes are useful progress.
Your first scouting visit finds no animals. What is the most useful next step?
- Delete the parcel because it is empty.
- Record the visit conditions and what you actually checked.
- Assume a different species must be present.
Show the answer and explanation
Answer: B. Record the visit conditions and what you actually checked.
A dated observation is evidence about one visit. Good notes improve your next decision without turning absence of a sighting into a claim about the parcel.
Terms on this page
Open a term for its meaning, a common mix-up and the existing guide. English terms and acronyms are retained.
WMZ
Wildlife Management Zone: a provincial zone reference used when locating the relevant Saskatchewan hunting information.
Common mix-up: A provincial WMZ label is not interchangeable with a federal migratory-bird district.
quarter section
A directional quarter of a section in a rural legal land description, commonly labelled NE, NW, SE or SW.
Common mix-up: A land-description reference does not itself provide a checked entrance or the boundary geometry shown by a map record.
Current checks and official context
Choose a small, clear objective
Start with one species group, one general area and a realistic day length. A first visit can be a scouting trip: learning the approach, reading signs and finding a lawful place to park are useful outcomes. Write down what you still need to learn instead of assuming every question must be solved in the field.
- Choose your intended species and date.
- Find an experienced mentor or appropriate hunter-education course.
- List the licence, land and travel questions you must resolve.
Build your eligibility and access checklist
Read the current Hunters Guide for your residency and licence category, including education and age requirements. Firearms licensing and training have their own requirements; use the RCMP resource for those questions. Next, identify a particular parcel and its access conditions. An open hunting season and permission to enter are separate checks.
- Keep the applicable documents available offline.
- Ask about the exact parcel, people, activity and date.
- Resolve uncertainty with the responsible authority before committing to the trip.
Make the first outing easy to change
Choose a lawful approach you can recognise and keep an alternative destination that has its own completed checks. Tell a trusted person the route and return time. Plan when to turn back if access, weather or visibility is unsuitable. Afterwards, record what you observed and one change for the next visit.
Turn this lesson into your next outing
Review the date, species, starting template and linked day plan in an editable preparation draft. You choose what to add and save.
Prepare your own trip
Review a preparation draftContinue learning
Work out which licences and documents you needTry a practical situation
Open related practiceOpening a draft does not create a saved checklist. A checked item records your own review, not permission or an open season.
Scenario practice
Put your field decisions into practice.
Try 24 situations across identification, access, field adjustments and harvest care. Compare your choice with the explanation, then revisit the relevant lesson.
Original sources
- Government of Saskatchewan · Hunters Guide and updates
- Government of Saskatchewan · Hunting and licence services
- Royal Canadian Mounted Police · Firearms safety and licensing
- Government of Saskatchewan · Hunters Extras, maps and access
Use this as a planning guide. Check current official requirements and site conditions before travelling.
Help improve this guide
Tell the editor about something on this public page that needs attention.