
Guest reading progress stays in this browser and is not synchronized to your account automatically. Use the learning panel to include browser marks and save them explicitly. Clearing site data removes browser marks.
Your learning notebook
Save courses and review situations deliberately. Load your account records on another device when you want to continue.
Bookmarks and review choices stay in this browser until you load and save an account. Answers and time spent reading are not recorded.
Saved courses
Saved situations to revisit
Find your marked situations by title or topic, then open the original question and explanation.
Your review choices will appear here when this learning view is ready. Use the account controls above to load account choices.
No situations are marked for review in this learning view.
No saved situation matches these filters. Clear the search or choose all topics.
Identification practice
Land access practice
Field decisions practice
Harvest care practice
Useful reading before this lesson
Start with these guides for background and preparation. You can open any guide at any time.
Read a forecast card without filling its gaps ↓
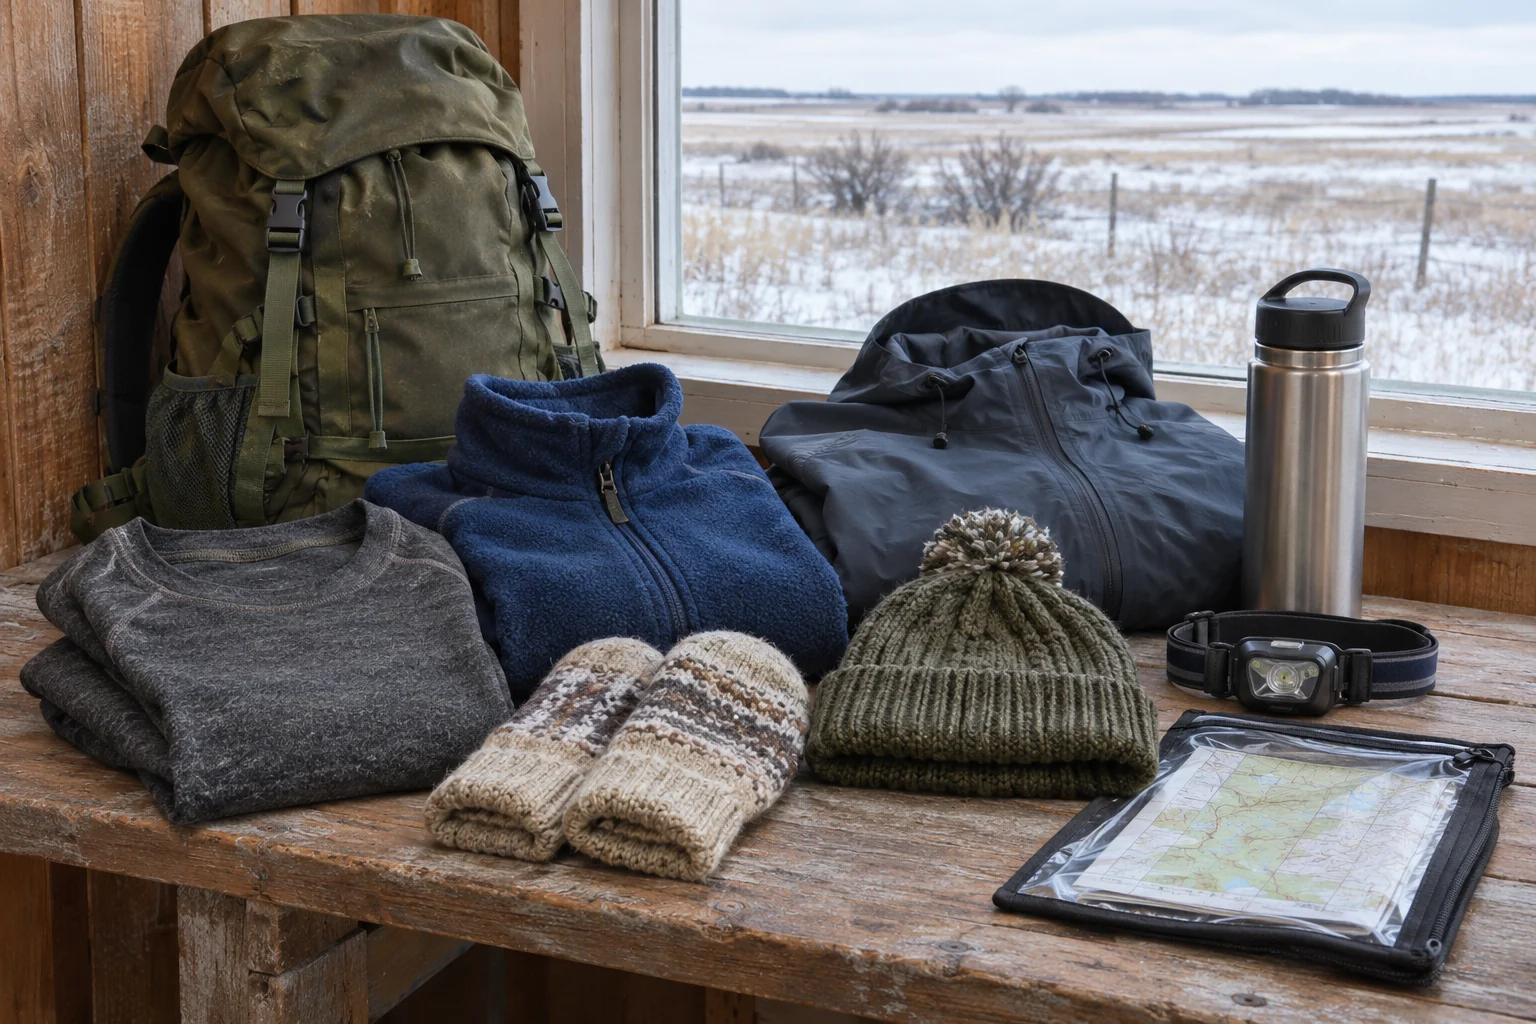
Original AI-generated teaching scene. The gear, map and landscape are illustrative; they do not show current local conditions or a verified route.
Image credit: SKHunter · original AI-generated teaching sceneWhat you will learn
- Connect the forecast to the whole outing, including the return.
- Rehearse layers and dry reserves with the actual kit.
- Recognise a reason to stop and arrange help instead of extending exposure.
An original SKHunter learning guide
Make a weather change lead to a clear decision
Agree on what changes the plan before cold, wind or wet clothing makes communication harder.
Preparation and decision sequence · read the complete lesson for context.
Work through the example
- 01
Read the local forecast
Match the forecast and alerts to the place and time you intend to be outside, then recheck before leaving.
- 02
Prepare dry adjustments
Lay out layers, dry spares and accessible protection. Rehearse adjustments while still warm and at home.
- 03
Set a check-in and return
Share the route, return arrangement and overdue plan with a responsible contact.
- 04
Respond to change early
If weather, clothing or the group’s condition no longer fits the plan, shorten or end the outing and seek appropriate help.
Rehearse your own decision
Describe the evidence first, then decide what needs checking before another visit.
- Can you reach an extra layer or dry item without unpacking everything?
- Does the whole group know what will shorten or cancel the outing?
- Who has the trip plan, and what will they do if your agreed check-in is missed?
Build a weather card for the trip window
Before packing, record the forecast location, issue time, temperature, wind, precipitation and warnings for departure, the planned stop and the return. Compare the named forecast area with the actual destination. A bright sky at home is not a review of a more exposed field later in the day.
Beside each weather entry, write its consequence: a shorter stationary period, a sheltered stop, a nearer destination or cancellation. Review official alerts again before leaving. Wind chill describes cold exposure; it is not a reading of the temperature inside a cooler or a test of ice strength. Keep those other questions separate.
- Record source / issue time / destination / return window.
- Make one practical change for each relevant condition.
Divide the outing into movement, waiting and return
Draw a simple time line with the walk in, setup, stationary observation, packing and walk out. Note where wind exposure increases and where you can actually reach dependable shelter. A parked vehicle is useful only if you can reach and use it; a distant building on the map is not an agreed refuge.
Choose a turnaround point that leaves room for slower walking and packing. Tell the party which change will end the visit, such as deteriorating visibility or an unusable return route. Do not turn the final bird movement into a reason to borrow the time already reserved for leaving.
- Write the return decision before adding optional stops.
- Keep the last reliable route and shelter identifiable.
Rehearse layers before taking them into the field
Lay out clothing for activity, waiting and a delay. Use adjustable layers and suitable wind protection, with dry reserves kept away from wet equipment. During a short practice walk near home, notice whether the clothing becomes damp and whether a reserve layer can be put on without unpacking everything.
Repeat the pocket test wearing the actual gloves: find the light, map, phone and spare hand covering. Make adjustments while conditions are manageable. The useful result is a kit you can operate, not the largest pile of clothing. Personal needs and health circumstances may call for advice from a qualified professional.
- Practise opening closures and changing layers with gloves.
- Protect dry reserves and check footwear fit with the intended socks.
Use task changes as a buddy-check reminder
Pause when the group changes from walking to waiting, when packing begins, and whenever someone says they are becoming uncomfortable. Ask about warmth, damp clothing, tiredness and the return. Keep the questions ordinary and easy to answer honestly; nobody should need to prove endurance before requesting an earlier finish.
Move the plan toward a shorter, warmer outing while people can still manage the return. Add a note if a person cannot use the kit as expected. Confusion, unusual clumsiness or concerning cold symptoms require ending the activity and seeking appropriate help, rather than using this lesson to make a medical diagnosis.
- Say what changed, then agree the next action aloud.
- Check the quietest member as well as the organiser.
Prepare the help decision, not an improvised treatment lesson
Agree who carries the location record, who communicates and who stays with a person needing help. If there is an emergency, call 9-1-1 when a connection is available, describe the situation and location, and follow the dispatcher. Cell service is not guaranteed at a hunting parcel.
Suitable first-aid training and equipment belong in the preparation plan. This exercise does not teach rewarming procedures or set a temperature below which every person has the same outcome. At home, practise explaining the destination and nearest checked access point without calling emergency services as a test.
- Have a usable location description and return contact.
- Do not rely on a weather number to overrule a person’s condition.
Debrief the ordinary problems before the next trip
After returning, identify the first point where the plan became harder to follow. Perhaps gloves were wet, a zip was inaccessible, or the stationary period exceeded the clothing plan. Record the task and conditions instead of writing only “cold day”. Replace used supplies and dry equipment according to its instructions.
Choose one correction and rehearse it on another short outing. Retain the weather card as a dated record, not a forecast for the next visit. A successful return can still reveal a weak decision; improving that decision is more useful than concluding that the same exposure will always be manageable.
- Record one early signal, one decision and one kit change.
- Check fresh forecasts and alerts for every new visit.
Practice case: the walk was warm, but the wait is not
A short setup walk leaves clothing damp. Wind at the observation position is stronger than expected, and a companion asks to leave earlier.
Put it into practice
- Pause the activity and take the request seriously.
- Use the checked return and shelter plan while the group can still manage it.
- Seek emergency help if the situation or symptoms require it; describe the actual location.
- Record where moisture and waiting time broke the clothing plan.
- Adjust the kit and shorten the next rehearsal before repeating the outing.
Common mistakes to avoid
Checking only the departure temperature
Review wind, precipitation, warnings and the conditions expected during the return.
Leaving all warm reserves in the vehicle
Carry the reserves appropriate to the distance and possible delay; check that they can be reached.
Treating discomfort as a challenge to finish
Make it easy to shorten the outing before a manageable problem becomes an emergency.
The sky is clear, but a companion is unusually clumsy and struggling with ordinary tasks in the cold. What should the party do?
- Extend the wait because the forecast temperature has not changed.
- End the activity, arrange appropriate help and use the emergency plan if needed.
- Ask the person to walk farther alone to warm up.
Show the answer and explanation
Answer: B. End the activity, arrange appropriate help and use the emergency plan if needed.
A person’s concerning condition takes priority over completing the outing. End exposure and seek suitable help; a weather display cannot diagnose or dismiss the problem.
Read a forecast card without filling its gaps
Practise reading missing values, issue and valid times, wind from NW, separate wind and gust figures, hourly precipitation chance and an unavailable alert check.
Read the invented card, decide which statements it supports, then open each explanation. No answer or score is recorded.
Exercise edited:
An original four-hour teaching card
All values and times below are fictional SKHunter teaching data. This is not a live forecast or a report of conditions at any parcel.
- Example forecast issued
- Example copy retrieved
- Example forecast valid
- –
All times use Regina (UTC−06).
On a narrow screen, scroll the table sideways. With keyboard focus, use the left and right arrow keys.
| Hour starting | Wind from | Wind · km/h | Gust · km/h | Hourly precipitation chance · % |
|---|---|---|---|---|
| — | 0 | — | 0 | |
| Hourly record unavailable | — | — | — | — |
| NW | 20 | 35 | 40 | |
| — | — | 45 | 60 |
0 is a supplied value. — means that value was not provided; it is not converted to zero.
Each row concerns the hour beginning at its label: 08:00 covers 08:00–09:00. The four requested hours end at 12:00; there is no 12:00 row.
Example official-alert check: Unavailable in this exercise — no conclusion about current alerts.
Read the source direction at 10:00
Six ways to check your reading
Does 0 mean the same thing as —?
At 08:00, wind 0 is supplied, while the gust value is missing. At 09:00, the whole hourly record is unavailable. The table gives no 09:00 wind measurement or forecast value to replace with 0.
Apply it to this card: Keep the 08:00 zero and each dash distinct. Even a supplied 0% at 08:00 is only that row’s probability value; it does not fill 09:00 or describe the entire outing.
Which time tells you when the forecast applies?
05:00 is the example issue time; 07:30 is when its copy was retrieved. 08:00–12:00 is the period being described. Retrieving a copy later does not move its issue time forward or turn it into a new forecast.
Apply it to this card: For the 10:00 row, retain both provenance times and the 10:00–11:00 forecast hour. None is a field observation made at 07:30.
Where does wind labelled NW come from?
Meteorological wind direction names its source. The 10:00 NW label means wind from the northwest; it does not tell you to travel northwest. This diagram deliberately points toward that source.
Apply it to this card: At 11:00, direction is missing. Do not carry NW into that row from 10:00 or infer it from the gust figure.
Should the 20 and 35 figures be added?
The 10:00 row supplies wind 20 and gust 35 in separate columns. They are not two numbers to add into 55, and the gust figure is not a statement that wind stays at 35 throughout the hour.
Apply it to this card: The 11:00 gust 45 does not fill its missing wind speed. Retain the gust value and leave the other field unknown.
What does 40% at 10:00 describe?
Hourly precipitation chance concerns measurable precipitation in that forecast hour. It is not 40 mm, 40% of the hour, or the chance for the whole 08:00–12:00 window. Text-bulletin COP and hourly LOP must be read with their own stated periods.
Apply it to this card: These rows provide no single probability for the entire four-hour window. Do not add the percentages or relabel the maximum 60% as that missing window probability.
Do missing rows or a failed alert check mean “none”?
The 09:00 gap and the unavailable alert check are both missing information. Neither establishes zero wind, zero precipitation or the verified absence of weather alerts.
Apply it to this card: Record “not provided” for the gap and “alert check unavailable” for this card. Current official forecast and alert information still need their own checks; this fictional example cannot supply them.
Current checks and official context
Current weather information
Use the linked ECCC forecasts and warnings for the actual destination and trip period. No fixed cold limit in this lesson certifies a trip as safe.
Training and emergency support
The linked health and outdoor-safety resources support preparation. Learn practical first aid through suitable training; in an emergency use Sask911 instructions and follow responders.
Turn this lesson into your next outing
Review the date, species, starting template and linked day plan in an editable preparation draft. You choose what to add and save.
Prepare your own trip
Review a preparation draftContinue learning
Build a hunting day plan with a sensible fallbackTry a practical situation
The return route is changingOpening a draft does not create a saved checklist. A checked item records your own review, not permission or an open season.
Scenario practice
Put your field decisions into practice.
Try 24 situations across identification, access, field adjustments and harvest care. Compare your choice with the explanation, then revisit the relevant lesson.
Original sources
- Environment and Climate Change Canada · Wind chill and the Wind Chill Index
- Health Canada · Extreme cold: prevention and warning signs
- Environment and Climate Change Canada · Preparing for winter weather
- AdventureSmart · Trip planning, training and essentials
- Saskatchewan Public Safety Agency · Sask911 and wireless limitations
Use this as a planning guide. Check current official requirements and site conditions before travelling.
Help improve this guide
Tell the editor about something on this public page that needs attention.